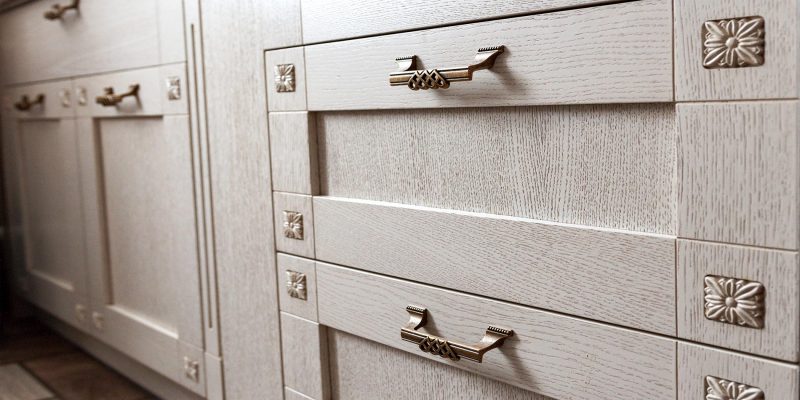
How to Replace Your Cabinet Hardware in Colorado
Your kitchen cabinets get a lot of use over the years. As time goes on, you might notice your pulls or knobs getting dull, rusty or degrading. At this point, you might be starting to consider replacing your cabinet hardware in Colorado.
Whether you’re sticking with pulls or knobs or transitioning from one to the other, here are some tips to help you get the job done correctly and efficiently.
Remove existing hardware
The first step is, of course, to remove the existing hardware. To do this, you’ll need to loosen the screw on the back of the door while holding on to the hardware in front to keep it in place. Set aside the old hardware safely, just in case you need it.
Fill holes
Find a shade of wood-filling putty that will match your cabinet closely, if you’re not going to be painting or refinishing the cabinetry itself. You might consider mixing several shades of the putty together until you develop a color that closely matches your original cabinet wood. Make sure to let the putty dry to see if the color changes, allowing you to make necessary adjustments.
Using your fingers, roll up some of your mixed putty in your hand and push it as far down into the hole left behind by the old screws as possible. Then, use a putty knife to compact it in place, scraping it flat along the hole to make a smooth surface.
Remove excess putty with a damp cloth, then allow the putty to completely dry in place. You may need to add more in some circumstances—this is fine. If the color is still not close enough to the finish of the cabinet, try using some stain markers and putty pencils to camouflage the area a bit better. You may also need to lightly sand the area with a fine-grit sandpaper to make sure it’s smooth to the touch.
Attach the new hardware
You can get templates from hardware installation kits, which will help you in the next several steps. Place the template along the edge of the cabinet and add pencil marks in the template holes that will correspond with your new handles.
Next, drill holes in those pencil marks using a bit that corresponds with the size of the screws you’ll be using for the new handles.
Put the handle on the front of the door, and line up the holes with the handle’s attachment points. Then push the screws through the back of the door, and use a screwdriver to tighten the screws into the handle while holding the handle in place.
Repeat this process for each handle until you’ve finished the process of attaching all of them.
Looking for more tips and tricks about installing new kitchen cabinet hardware in Colorado? We encourage you to contact the team of experts at Custom Door Hardware and we’ll be happy to provide you with any information or advice you need from us as you complete your job.
Categorised in: Cabinets